3D Clipboard
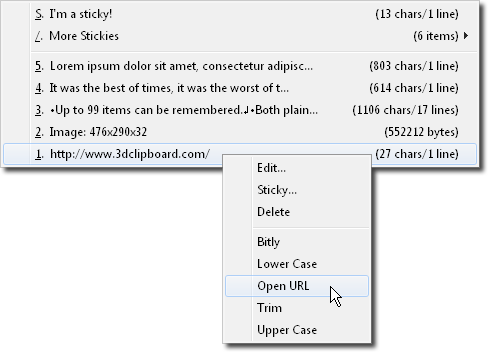 Here, we can see the context (right-click) menu for an item. The upper portion of the
menu (Edit, Sticky, Delete) are built-in functions; while the lower portion of
the menu contains your user-defined action scripts.
Here, we can see the context (right-click) menu for an item. The upper portion of the
menu (Edit, Sticky, Delete) are built-in functions; while the lower portion of
the menu contains your user-defined action scripts.
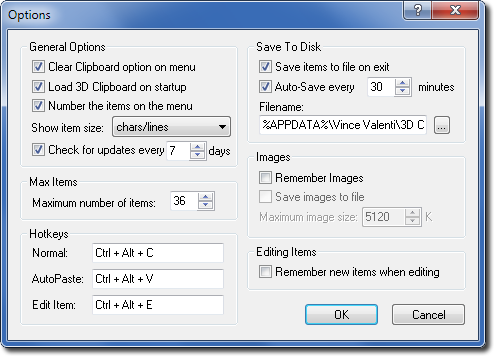 This is the 3D Clipboard options dialog.
 Notice that when editing an item, you can alter the item's name. The name is what appears on the clip menu.
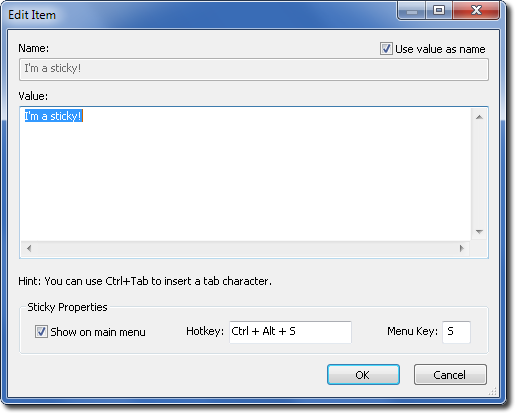 When you make an item sticky by clicking the Sticky option on the right-click menu, a few additional options are presented in the standard edit dialog. You can choose whether or not you want to see the item on the main menu (as opposed to a "More Stickies" submenu), and assign a hotkey.
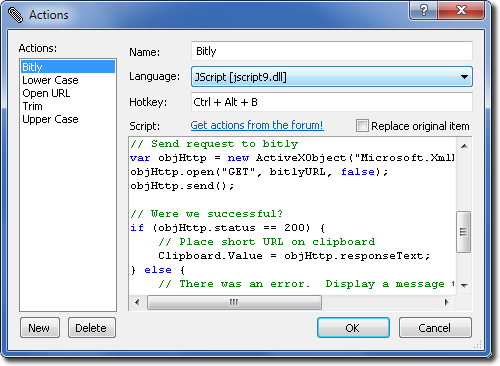 The action editor dialog lets you define your own custom Action scripts to extend the functionality of 3D Clipboard. Here, we can see an example of a JavaScript that shortens a URL with the Bitly API.
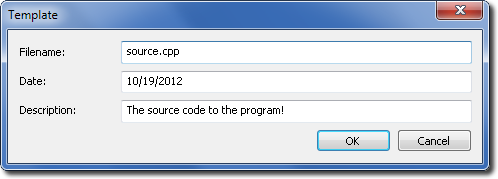 When you select an item with a template placeholder, you'll be presented with a dialog like this one. The values you enter will be substituted for the placeholders and then placed onto the Windows clipboard.
|